利用Canvas模仿百度贴吧客户端loading小球的方法
这篇文章主要给大家介绍了关于利用Canvas模仿百度贴吧客户端loading小球的实现方法,实现后的相关非常相似,文中给出了详细的示例代码供大家参考学习,对大家具有一定的参考价值,需要的朋友们来一起学习学习吧。
前言
最近看到两个好玩的 demo,效果图如下:


今天趁着周末有空,用 H5 的 Canvas 仿了一下。这篇文章只实现第一个效果图。
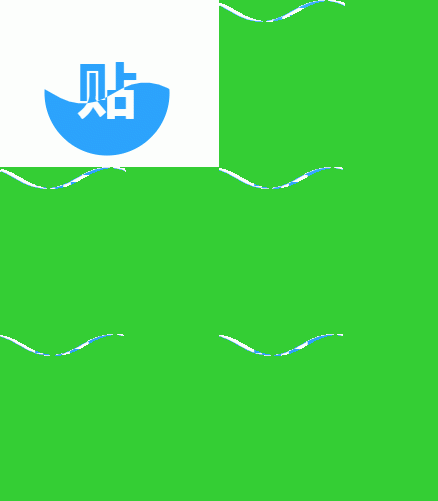
这是我实现的效果:
实现原理
实现原理是参考简书的那篇文章,这里不再复述。现在我们来一步一步实现这样的效果。
第零步:画一个圆
源码如下:
运行效果如下:
<!DOCTYPE html>
<html>
<head>
    <meta charset="UTF-8">
    <title>百度贴吧客户端Loading小球</title>
    <style>
        canvas {
            border: 1px solid #ccc;
        }
    </style>
</head>
<body>
<canvas id="canvas" width="500" height="500"></canvas>
<script>
    var canvas = document.getElementById('canvas')
    var ctx = canvas.getContext('2d')
    canvas.width = 500
    canvas.height = 500

    var grid = canvas.width / 4
    var cx = canvas.width / 2 // 圆中心点 x 坐标
    var cy = canvas.height / 2 // 圆中心点 y 坐标

    function circle() {
        ctx.beginPath()
        ctx.arc(cx, cy, grid / 2, 0, 2 * Math.PI)
    }

    circle()
    ctx.stroke()
</script>
</body>
</html>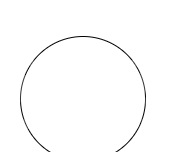
这个 demo 只涉及 Canvas 最简单的用法。
第一步:绘制蓝色的“贴”字
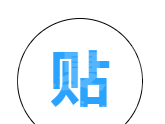
使用 ctx.fillText,在圆的中心绘制一个蓝色的“帖”字。文字粗体、水平居中。
代码如下:
function text(fillStyle) {
    var fontSize = size / 250 * 120
    ctx.font = 'bold ' + fontSize + 'px Arial'
    ctx.textAlign = 'center'
    ctx.fillStyle = fillStyle
    ctx.fillText('贴', cx, cy + fontSize * 0.3)
}

text('#29a3fe')
效果如下:
第二步:绘制蓝色的波浪
var waveSize = size / 6 // 波浪大小
var x = 0 // 波浪位置偏移大小

function curve() {
    ctx.beginPath()
    ctx.moveTo(cx - size + x + size / 2, cy)
    ctx.quadraticCurveTo(cx - size + size / 4 + x + size / 2, cy - waveSize, cx - size + size / 2 + x + size / 2, cy)
    ctx.quadraticCurveTo(cx - size + size * 3 / 4 + x + size / 2, cy + waveSize, cx - size + size + x + size / 2, cy)

    ctx.quadraticCurveTo(cx + size / 4 + x + size / 2, cy - waveSize, cx + size / 2 + x + size / 2, cy)
    ctx.quadraticCurveTo(cx + size * 3 / 4 + x + size / 2, cy + waveSize, cx + size + x + size / 2, cy)
    ctx.lineTo(cx + size + x + size / 2, canvas.height)
    ctx.lineTo(cx - size + x + size / 2, canvas.height)
    ctx.lineTo(cx - size + x + size / 2, cy)
    ctx.closePath()
}

ctx.fillStyle = '#29a3fe'
curve()
ctx.fill()
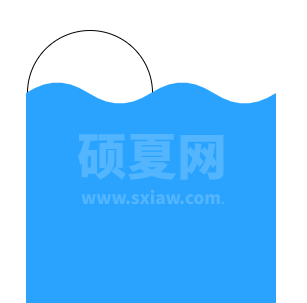
效果如下:
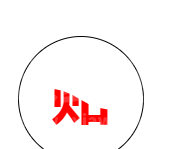
第三步:绘制白色的“贴”字
curve()
ctx.clip()
text('#f00')
第一句代码 curve() 创建了一个波浪形状的路径,和第三步不同的是,这里并没有使用 ctx.fill() 填充路径,而是使用了 ctx.clip() 裁剪路径,这样的话,后面绘制的路径(包括文字)只有在剪裁区域内才能显示。
为了和背景色区分开来,我把“贴”字改成红色。
效果如下:
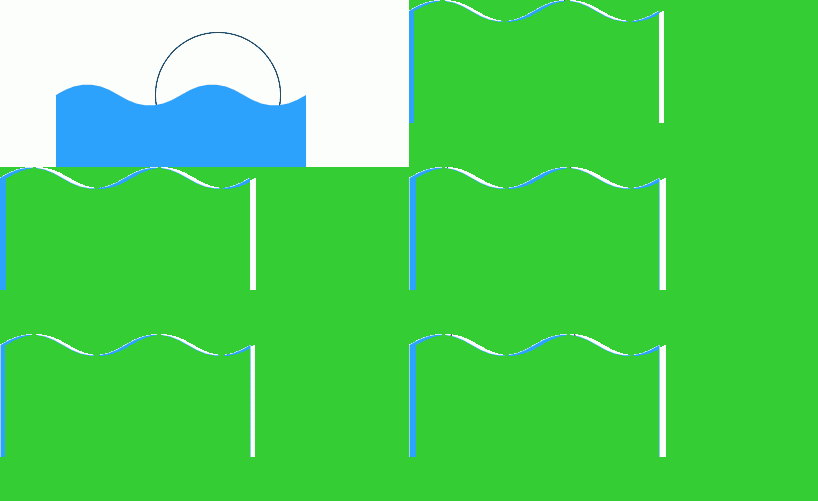
第四步:绘制运动的波浪
function loop(){
    ctx.clearRect(0, 0, canvas.width, canvas.height)

    x -= 1.5
    x = x % size

    ctx.save()

    circle()
    ctx.stroke()

    ctx.fillStyle = '#29a3fe'
    curve()
    ctx.fill()

    ctx.restore()

    requestAnimationFrame(loop)
}
loop()
效果如下:
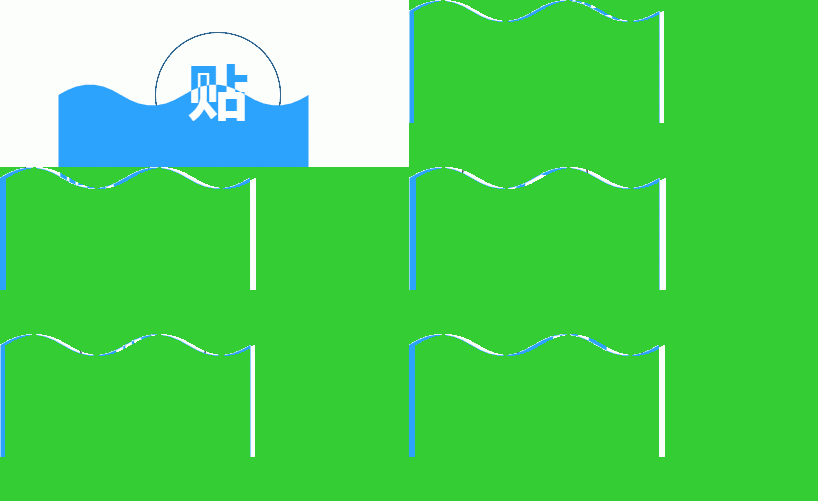
第五步:整合前面的内容
效果如下:
第六步:剪裁圆形
把第零步的:
circle()
ctx.stroke()
改成:
circle()
ctx.clip()
这样就能把圆形外面的形状剪裁掉,然后就大功告成了。
最后,附上完整源码:
<!DOCTYPE html>
<html lang="en">
<head>
    <meta charset="UTF-8">
    <title>Title</title>
    <style>
        html,
        body {
            height: 100%;
        }
        canvas {
            border: 1px solid #ccc;
        }
    </style>
</head>
<body>
<canvas id="canvas" width="500" height="500"></canvas>
<script>
    var canvas = document.getElementById('canvas')
    var ctx = canvas.getContext('2d')
    canvas.width = 500
    canvas.height = 500

    var size = canvas.width / 4 // 圆的大小
    var cx = canvas.width / 2 // 圆中心点 x 坐标
    var cy = canvas.height / 2 // 圆中心点 y 坐标
    var waveSize = size / 6 // 波浪大小
    var x = 0 // 波浪位置偏移大小

    function circle() {
        ctx.beginPath()
        ctx.arc(cx, cy, size / 2, 0, 2 * Math.PI)
    }

    function curve() {
        ctx.beginPath()
        ctx.moveTo(cx - size + x + size / 2, cy)
        ctx.quadraticCurveTo(cx - size + size / 4 + x + size / 2, cy - waveSize, cx - size + size / 2 + x + size / 2, cy)
        ctx.quadraticCurveTo(cx - size + size * 3 / 4 + x + size / 2, cy + waveSize, cx - size + size + x + size / 2, cy)

        ctx.quadraticCurveTo(cx + size / 4 + x + size / 2, cy - waveSize, cx + size / 2 + x + size / 2, cy)
        ctx.quadraticCurveTo(cx + size * 3 / 4 + x + size / 2, cy + waveSize, cx + size + x + size / 2, cy)
        ctx.lineTo(cx + size + x + size / 2, canvas.height)
        ctx.lineTo(cx - size + x + size / 2, canvas.height)
        ctx.lineTo(cx - size + x + size / 2, cy)
        ctx.closePath()
    }

    function text(fillStyle) {
        var fontSize = size / 250 * 120
        ctx.font = 'bold ' + fontSize + 'px Arial'
        ctx.textAlign = 'center'
        ctx.fillStyle = fillStyle
        ctx.fillText('贴', cx, cy + fontSize * 0.3)
    }

    function loop(){
        ctx.clearRect(0, 0, canvas.width, canvas.height)

        x -= 1.5
        x = x % size

        ctx.save()

        circle()
        ctx.clip()

        text('#29a3fe')

        ctx.fillStyle = '#29a3fe'
        curve()
        ctx.fill()

        curve()
        ctx.clip()

        text('#fff')

        ctx.restore()

        requestAnimationFrame(loop)
    }
    loop()
</script>
</body>
</html>
以上就是本文的全部内容,希望对大家的学习有所帮助,更多相关内容请关注硕下网!
相关推荐:
html5使用html2canvas实现浏览器截图
HTML5 canvas绘制五角星的方法
html5使用canvas实现跟随光标跳动的火焰效果
以上就是利用Canvas模仿百度贴吧客户端loading小球的方法的详细内容,更多请关注其它相关文章!
